


A common question we get here is "how do I remove my stock front bumper" and of course being a leader in aftermarket parts & accessories we know a thing or two about getting a truck apart.
With that being said, congratulations on your purchase of the all-new 2017 Ford Raptor! Like with all Raptor owners, having a stock truck for our off-road adventures just isn't enough because we keep wanting to push it to the limits.

Here's how to remove to safely remove the stock bumper from your 2017 Ford Raptor.
Preparation:
- Disconnect the negative terminal on the battery. Park the vehicle on level ground and set the emergency brake.
- Please reading through this entire installation instructions document before performing removal.
- We estimate around 2 hours of installation time needed to perform this task. 2 people is required for best results.
- You will need the following tools:
- Ratchet
- 3/4" Socket and Wrench
- 9/16" Socket
- E6 External Torx Socket
- 7mm Socket
- 11mm Socket
- 13mm Socket
- 15mm Socket
- 21mm Socket
How do you remove the 2017 Raptor front bumper
- Use 13mm and 15mm Sockets to remove the skid plate bolts (x6), then remove the skid plate from the truck. (Fig A)

- Remove the metal spacer that the bottom two skid plate bolts go through. Then, remove the two factory U-nuts that the bottom two skid plate bolts threaded into. (Fig B)

- Carefully pull the front plastic piece off the bumper. There are no tools required for this step, it pulls off by hand. (Fig C)

- Remove your Adaptive Cruise Control Module (Fig D)

- Using an 11mm Socket, remove the three nuts holding the Module on.
- Using an E6 External Torx Socket, remove the three studs holding the Module on.
- Remove the Module
- Remove the 7mm Bolt that holds on the bumper side support bar. Repeat this step on the other side. (Fig E)

- Remove the 21mm Nuts that hold on the bumper. There are three per side. Two of the nuts (per side) face the front (they were hidden behind the plastic piece you removed in Removal Step 3. One of the nuts (per side) faces the rear of the vehicle and is accessible from underneath the truck. (Fig F)

- Remove the bumper from the truck. As you are removing the bumper, be sure to pull the rubber shroud from the plastic clips that attach it to the bumper. (Fig G)

- Remove the rubber piece that runs along the bottom/front section of headlight bezel. There are 6 plastic clips holding this on. Repeat this step on the other side of the truck. (Fig H)

- Remove the tow tooks by removing the two 15mm bolts that hold each of them on. (Fig I)

- Remove each of the Skid Plate Brackets by removing the 15mm bolt that hold each of them on. There is one bolt per side. (Fig J)

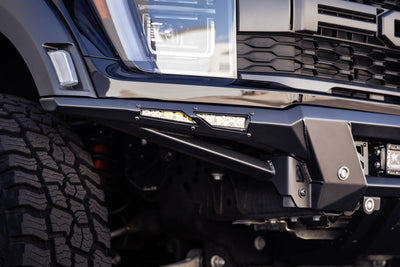
- Prepare to install your new ADD 2017 Ford Raptor aftermarket bumper.
If you need additional support or have questions, feel free to give us a call and talk to one of our 2017 Ford Raptor specialists at (480) 671-0820.


Leave a comment