"Have any of you removed your rear bumper? If so how did you do it? A common question we see not only sent to us but also see on various Tundra forums and all over social media. So with that being said, we decided to help everyone out. Below is an easy to follow Toyota Tundra rear bumper removal guide for the model years 2014 to 2018.
Preparation
- Disconnect the negative battery terminal. Park the vehicle on level ground and set the emergency brake.
- We recommend reading through the installation instructions in whole before performing the work.
- Estimated Installation Time: 2 Hours
**This installation requires 2 people for best results**
You will need the following tools:
- Ratchet
- 12mm Socket
- 19mm Socket
- 9/16" Socket
Toyota Tundra Rear Bumper Removal
1. Unplug the connector on the back side of the license plate lights.
2. Remove your license plate.
3. Unplug and remove the Trailer Plug. (Fig A)

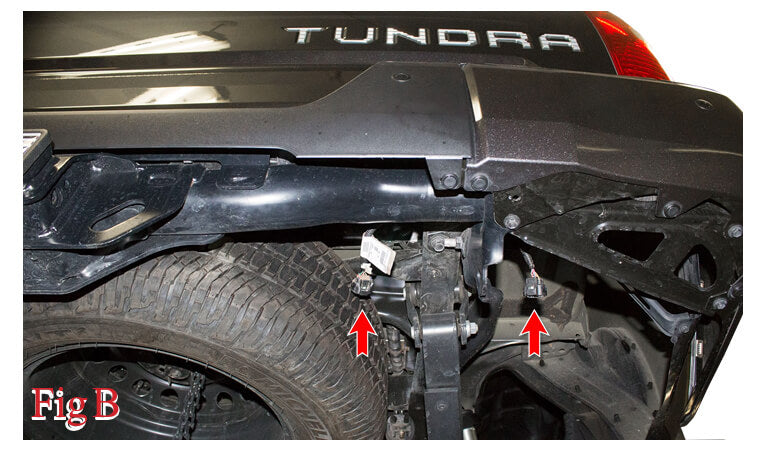
4. From underneath the truck, unplug the bumper harness connectors on the passenger side of the vehicle. (Fig B)
5. Remove the plastic clip that sits behind the license plate. (Fig C)

6. From underneath the truck, remove the two plastic clips referenced in (Fig D).

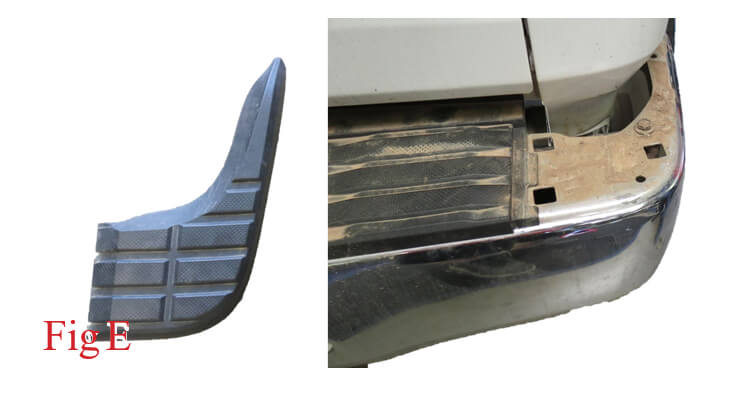
7. Carefully pull the plastic pieces off of each corner of the bumper. There are no tools required for this step. The pieces are held on by clips and can be pulled off by hand. (Fig E)
8. Carefully pull up on the center plastic piece of the bumper. This section can also be removed by hand. If your vehicle has parking sensors, push the sensors out the back side of the mounting rings as you remove this piece. (Fig F)

9. Using a 12mm Socket and Wrench, remove the four bolts (per side) shown in (Fig G).

10. From underneath the truck, use a 12mm Socket to remove the two bolts (per side) referenced in (Fig H)

11. Remove both bumper side pieces from the vehicle. If you have parking sensors, push the sensor through the back side of the mounting ring as you pull the pieces off. If you have a blind spot sensor, you will also have to unplug that as you pull the pieces off.
12. Using a 12mm Socket, remove the two nuts holding on the bumper mounting bracket. Then, remove that bracket. Repeat this step on the other side of the vehicle. (Fig I)

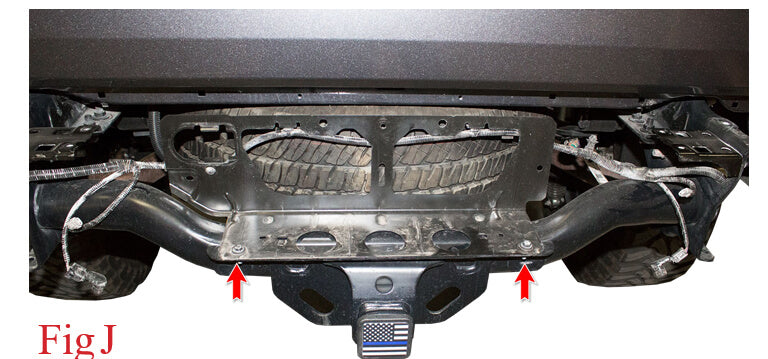
13. Use a 12mm Socket to remove the two bolts holding on the license plate bracket. Then, remove that bracket from the vehicle. (Fig J)
14. Remove the parking sensor mounting rings from the OEM bumper. Do this by pressing in the tabs on the back side of the mounting ring and pushing the ring out the front of the bumper. Keep track of the position and order of the sensor mounting rings so that you can install them on your new bumper in the same position/ order. (Fig K)

15. Remove the smaller square section of the license plate light housings by pressing in the tabs on the back side of the housings and pushing that section out of the front of the housing. (Fig L)

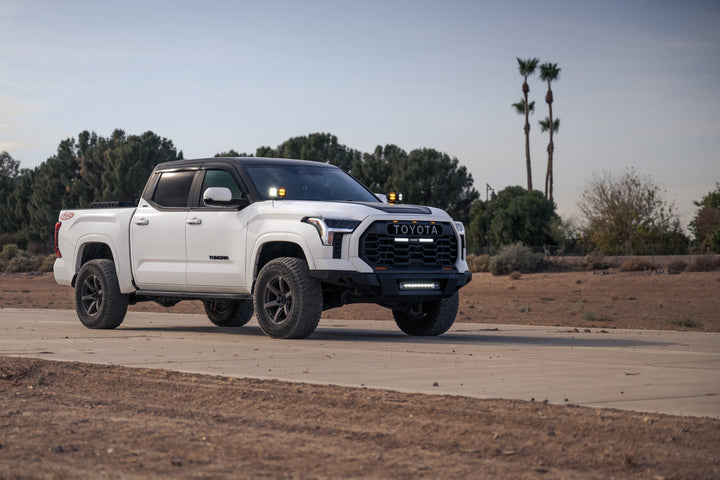
Questions, comments or concerns? Feel free to give us a call to talk to our Tundra product experts at (480) 671-0820. Now that the stock front bumper has been removed, feel free to browse all of our Tundra Bumpers. Sort by size, style, and budget and customize it the way you want it!


Leave a comment