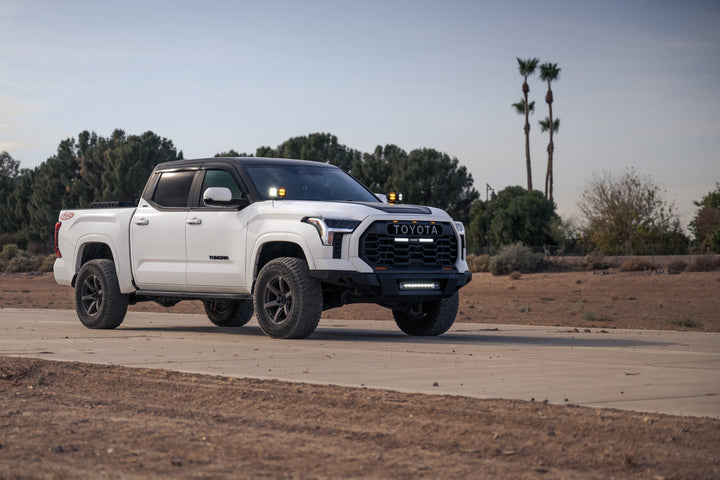
Now that the stock bumper has been removed, it's now time to install your new Stealth Fighter Front Bumper. This install typically takes ~2 hours depending on experience and works best with two people. Let's get started!
1. **THIS STEP IS OPTIONAL** Cut the frame stilts just below the sway bar mounts. Follow the line shown in (Fig E). Make sure to paint over any bare metal when you are finished cutting.

2. If you have any lights or a winch to install on your bumper, now is a good time to do so. Please follow the light/winch manufacturer's guide for mounting/wiring information.
3. Set the supplied U-Nuts (x6) in place on your new bumper. (Fig F)

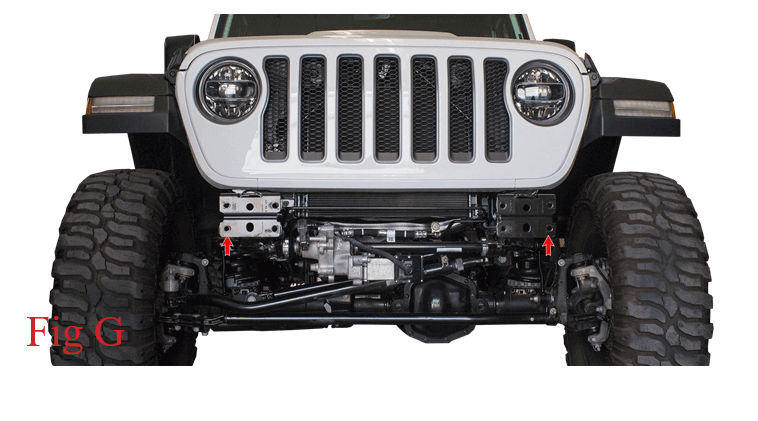
4. Drill the lower/outer bumper mounting holes to 1/2". (Fig G)

5. Set the bumper into place on the vehicle. Install the supplied 3/8" Bolts (x6) and 3/8" Washers (x6) from the backside of the frame horns. Then, install the supplied 1/2" Bolts (x2), 1/2" Washers (x4), and 1/2" Lock Nuts (x2) into the outer/lower mounting holes. Leave these bolts loose for now. (Fig H)

6. Adjust the bumper so that it is straight in relation to the vehicle's grille. Then, torque the 3/8" mounting bolts to 20 foot pounds and torque the 1/2" mounting bolts to 70 foot pounds.
7. Stand back and enjoy your new ADD Stealth Fighter Front Bumper.
8. Check and re-tighten, if needed, all mounting bolts after 100 miles and periodically thereafter.

Now that wasn't so bad after all, was it?! Interested in more Jeep JL products? Be sure to check out our full product line for the Jeep JL including our new Rear Bumpers and Tire Carriers. This product is protected by one or more U.S patents. For more information on those patents, please visit: www.addictivedesertdesigns.com/patents.
Need more help? For additional support or have technical questions, please call 480-671-0820 or email info@addictivedesertdesigns.com


Hello I wanted to see if you had any more of the stealth fighter front bumper for the jeep JL the discontinued style not the new style. The one without the winch mount but with the top hoop
———
Addictive Desert Designs replied:
We don’t, but it’s possible one of our dealers still have some. Here are the 2 part numbers if you want to do some digging.
F961742080103 | 2018-2022 Jeep Wrangler/Gladiator Stealth Fighter Full Length Front Bumper with Top Hoop – NON RUBICON F961682080103 | 2018-2022 Jeep Wrangler/Gladiator Stealth Fighter Full Length Front Bumper with Top Hoop – RUBICON ONLY
Leave a comment